⚠️ Disclaimer
Some methods in this guide may not work after the combat beta changes in March 2026
Know of a newer method/rotation? Got a video? Share it in Suggestions (external Discord)!
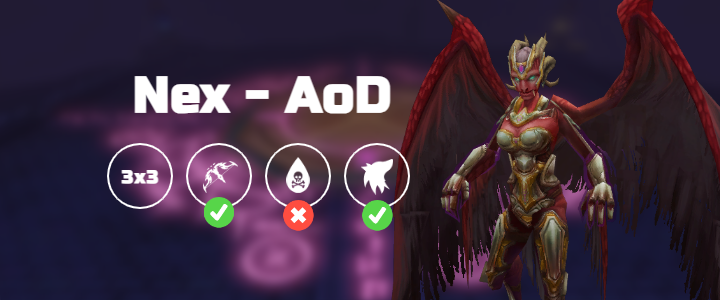
DISCLAIMER: This is a very advanced rotation and we do not advise attempting it unless you have an exceptional grasp of basing already
Presets and Relics


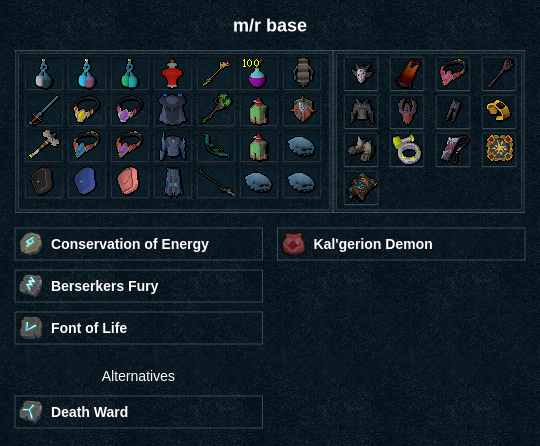
Rotation
Prefight
 →
 to indicate start →

 →
 →
 →
 →
 →
 →

 → →
 →
 → → →
 →

_Notes:
• Start fight 1t after
• Defensive use in builds should include an auto for adren gain via Invigorating_  _
Phase 1

 + →
 →
 (7t) →
Note: at 2.2m HP
Phase 2
 →
 →
 → →
 →
 →

 → →
 →
Phase 3


 → →
 →
 →

 →

 →
 → /
 → improvise if not phased
_Notes:
⬥ Click 2t after tendril
⬥ If procs , swap to until casting _
Lure
 → →
 → →
 → → → →
Note: if needed, otherwise use after
Zaros
(Pillar) → (target pillar) → →  → → → (7t) →
 →
 →
 → improvise if needed
Formatting Maintained by: @swimmingfish
Source record
By PvME contributors under CC BY-NC-SA 4.0. Navigation and typography adapted. Original sanitized source HTML and its text hash are retained separately. Source channel and message references are repaired using the pinned guide repository and public directory/identity evidence; navigation wording is adapted for the web. Every change is recorded in the reference repair ledger. Unverified destinations and contributor names remain explicitly unavailable. Legitimate external community and attribution links are preserved and labeled. Original media is embedded from providers; media rights are separate from guide-text rights.
Captured 2026-11-10T14:25:08Z. Game-version accuracy is unverified.
MediaWiki draft ↓