
Introduction
This is an advanced guide which assumes a strong underlying knowledge of all mechanics and information presented in Giant Mole Basic.
Presets and Relics
⬥ Melee 
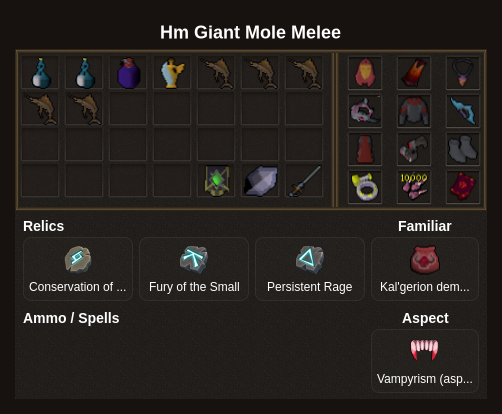
Rotations
⬥ Abyssal Scourge  is required for this method to work
 →
 or wait for 60% adren →
 (giant mole will now dig twice, watch for her 2nd dig location)
 →
 to where the giant mole is positioned
 →
 mini moles inside tunnels on the way to giant mole
→ giant mole will now dig back to starting chamber
 →
 → →

Notes:
⬥ *You may find that if the giant mole digs to the northwestern chamber first, she may not go back to the starting chamber after your
• This is due to the damage reduction mechanic.*
⬥ If this happens you will need to follow her to a 2nd chamber and which will guarantee her to dig to the starting chamber.
Example Kills
Source record
By PvME contributors under CC BY-NC-SA 4.0. Navigation and typography adapted. Original sanitized source HTML and its text hash are retained separately. Source channel and message references are repaired using the pinned guide repository and public directory/identity evidence; navigation wording is adapted for the web. Every change is recorded in the reference repair ledger. Unverified destinations and contributor names remain explicitly unavailable. Legitimate external community and attribution links are preserved and labeled. Original media is embedded from providers; media rights are separate from guide-text rights.
Captured 2026-11-10T14:25:44Z. Game-version accuracy is unverified.
MediaWiki draft ↓