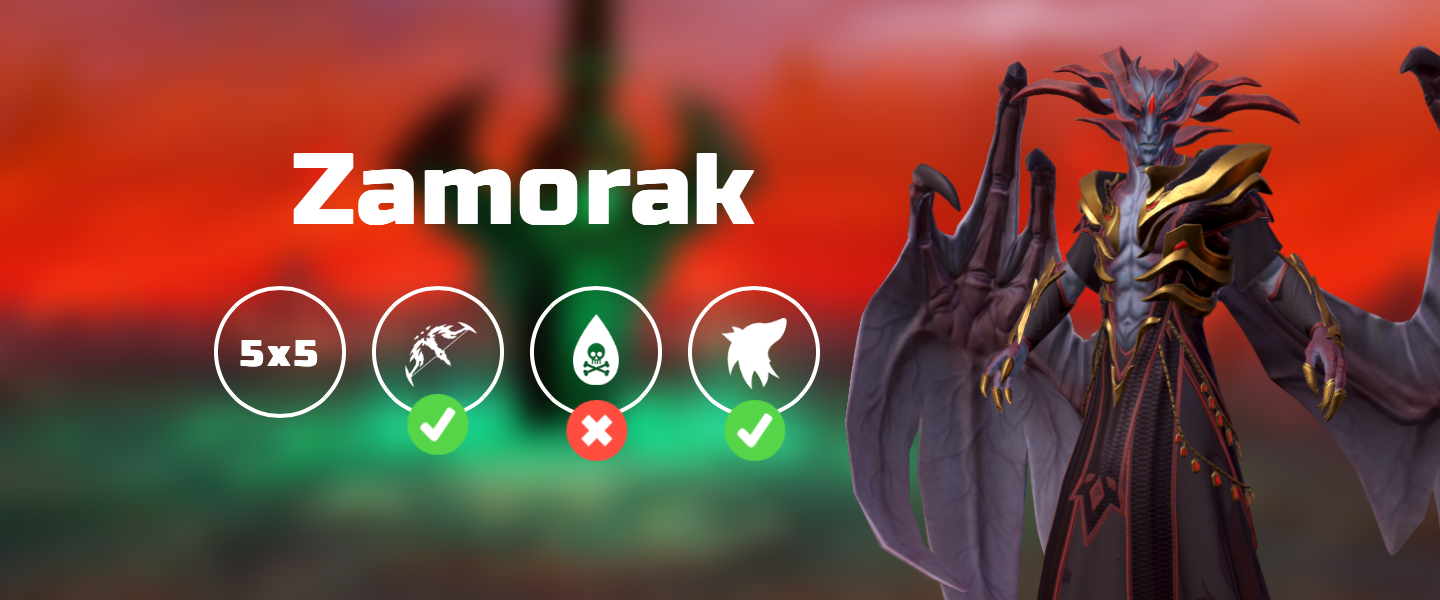
Intro
This guide contains information for players doing Zamorak at 500% enrage solo with 
⬥ The rotations in this guide will help you achieve <4 min kills comfortably
⬥ This guide uses edict order 2 - 1 - 4 - 6 - 5 - 3
Gear, Relics and Familiars
⬥ Ranged

The Fight
All rotations listed may need improvisation due to ful book procs and crits.
Phase 1
⬥ Build 10  before the 2nd last witch and use
 →
 , kill last witch when imbue shadows has ~20s on it's timer
1t after timer appears → 
 +
 → tc +


 →
 + step on pad →
 →
 →
 →
 +
 →
Note: Keep your hp low to maximise berserker's fury damage, can use  after if needed
Witch:  +
 → tc +
 + →
 + →
 /
Phase 2:
→ tc + → + to pad → → → → → → → → → +
Witch: + → tc + + → → + →
Phase 3
tc + +  to pad → + → → → → → → +
Witch: + → tc + + → + → (if needed)
Phase 4
→ tc + (if not used on witch) → + on pad → → → → → → +
Witch: + → tc + + → → + →
Phase 5
tc + + → → → → → → →  + to next pad → + →
Witch: + → tc + + → + →
Phase 6
tc + → → → → → → improv if not dead
Phase 7
Demon: during cutscene → +  → → + → target Zamorak + + → →
Runes:  → first rune → → second rune → + to Zamorak
Zamorak: → → → filler if not dead, equip  for bomb
Example Kill
⬥ 3:20
Source record
By PvME contributors under CC BY-NC-SA 4.0. Navigation and typography adapted. Original sanitized source HTML and its text hash are retained separately. Source channel and message references are repaired using the pinned guide repository and public directory/identity evidence; navigation wording is adapted for the web. Every change is recorded in the reference repair ledger. Unverified destinations and contributor names remain explicitly unavailable. Legitimate external community and attribution links are preserved and labeled. Original media is embedded from providers; media rights are separate from guide-text rights.
Captured 2026-11-10T14:27:17Z. Game-version accuracy is unverified.
MediaWiki draft ↓