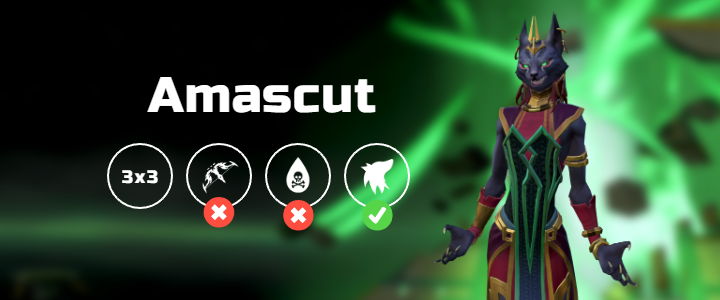
Introduction
This is an advanced guide which assumes a strong underlying knowledge of all mechanics and information presented in Amascut Nm Mechanics and Amascut 2000 Mechanics.
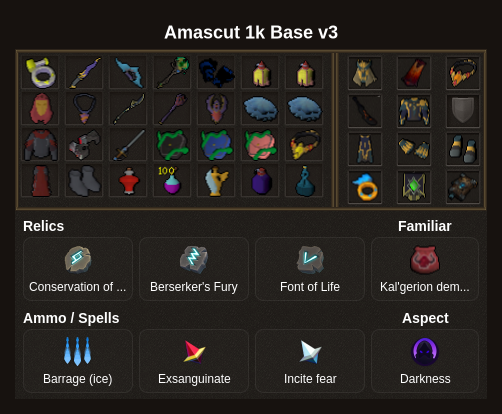
Preset Suggestions
Rotations
⬥ This guide serves as a baseline and rotations may change depending on adren from  ,
 resets, teams speed and enrage.
⬥ For this setup, it's highly advised to have  on Magic armour and having either
 or

 applied, can be forgone if enough
 stacks after p1.
Wars
Magic Start: s
Melee Start:  → s
Phase 1
Magic Start
r +  →
 +
 →
 →
 →
 → (autocast
 )
 →
 +
 →
 → →
 +
 → →
 +
 → → → (
 → → )
Melee Start
r + →  →
 → s
 →
 →
 →
 →
 →
 →
 →
 → + →
 →
 → (
 / → )
Phase 2 and 3
Gorilla:  →
East Crocodile:  → +
 → basics →
 right before scarabs explode utilize
 , and basics to kill the crocodiles then swap to
 , while clicking the faster side statue
Notes:
⬥ Utilize  sometime after gorilla then build up to and back up, then utilize and
 during croc handling to get a up before the blessing is deposited
Amascut
→ s → →  → → →
 → → →
 → → →
 → → → → → → → →

Notes: utilise stalling and releasing around 5.4M boss HP to avoid nulled damage.
Phase 4
This phase varies by base and team, on master+ teams it's best to immediately kill 4 scarabs and throw 2 in each portal then utilise  /
 /
 / /
 / to handle dogs and click both portals
Amascut
Start with at least 2 stack → s → → → → → → → → → ( ) →
Phase 5
Around the time both solo charges are done and both middle fragments are at 50%, prepare with: → →
As Tumeken's reform starts, move next to Tumeken and wait till 'GET OUT OF MY WAY' → ( ) → → () → → → → → → → improvise
Notes:
⬥ It's important for G1/G2 not to move in front of the boss, until the last interceptor has moved back into charging position, this allows for continuous charging for the fastest phase time and skipping 1 jump.
⬥ All other charging roles need to swap positions with max 1t delay as well for the perfect charge.
⬥ Click middle when charge is 1t off, filled or 1t after filled on the same tick that the green lines appear on the floor.
⬥ Perfect Charge Animation: 150 Charging Method
Phase 6
→ s → → tc core →
Non Jump
→ → → →  +
 → → →

Jumper
→ →  +
 → tc + → tc + → click + → click + → → click Tumeken
Note: for TC to work while jumping you need to set your target cycle to max weapon distance, otherwise just click all the mages instead for a 1-2t slower jump.
Clones
→  + → + → → → + → →
 + → →
 → → improvise → on last tick
Phase 7
→ tc + → → → → handle p7 mechanic → → → → improvise if still not dead
Example Kills
⬥ 6:36 Kill P2/3 Berzerk and burden tanking
⬥ 6:10 Kill p2/3 Berserk and burden tanking
Source record
By PvME contributors under CC BY-NC-SA 4.0. Navigation and typography adapted. Original sanitized source HTML and its text hash are retained separately. Source channel and message references are repaired using the pinned guide repository and public directory/identity evidence; navigation wording is adapted for the web. Every change is recorded in the reference repair ledger. Unverified destinations and contributor names remain explicitly unavailable. Legitimate external community and attribution links are preserved and labeled. Original media is embedded from providers; media rights are separate from guide-text rights.
Captured 2026-11-10T14:25:00Z. Game-version accuracy is unverified.
MediaWiki draft ↓